Search This Blog

Wednesday, July 6, 2011

Meatballs

Cranberry Meatballs


Bryan and I decided that meatballs sounded good, but we wanted to try a new recipe to change things up a bit. (The recipes we have a great – but we make those a lot.)
We needed to use up some ground beef so we stuck with a entirely ground beef recipe. I think future meatball attempts may include beef and pork and we will freeze the excess in smaller portions so we do not have to eat meatballs all week long!
Bryan found this recipe in The Complete Guide to Country Cooking, a cookbook my mom and dad gave me when I was in 8th grade. I begged my parents for cookbooks when I was a kid but they tried hard to get us age appropriate things but I was not necessarily interested in a child’s cookbook as I had some of those and wanted something more advanced. Eventually, I got this cookbook and it appeased me for some time.
This recipe included a sauce that we will use as the beginning of a BBQ sauce. Once we get the recipe perfected we will post it here J
I don’t like to touch raw meat so Bryan offered to make the meatballs. He combined all of the ingredients and used a 1-inch cookie scoop to make the meatballs. He was careful to pack the cookie scoop full so that the meatballs did not fall apart while cooking.

We placed them on a sheet and baked them for 20 minutes.

Once the meatballs were out of the oven we put them in the cranberry/tomato sauce for 10 minutes to finish cooking and to take on some of the sauce flavor.
You’ll see that we are missing a vegetable in this picture. We did have them (cucumbers) but the dishwasher had all of our dirty plates, so we ate our main dish first in these bowls and then had the cucumbers. It happens!
Cranberry Meatballs copied from The Complete Guide to Country Cooking by Taste of Home Publishing
1 egg, lightly beaten
½ c. crushed saltines (approx 15 crackers)
¼ diced onion
1 tsp salt
½ tsp pepper
1 lb. ground beef
1 can (16 oz) whole-berry cranberry sauce
1 can (10 ¾ oz) condensed tomato soup, undiluted
In a bowl, combine the first five ingredients. Crumble meat over mixture and mix well. Shape into 1 ½ inch balls. Place on rack in a baking pan. Bake, uncovered, at 400 degrees for 20 minutes or until no longer pink.
Meanwhile, combine cranberry sauce and soup in a large saucepan; heat through.
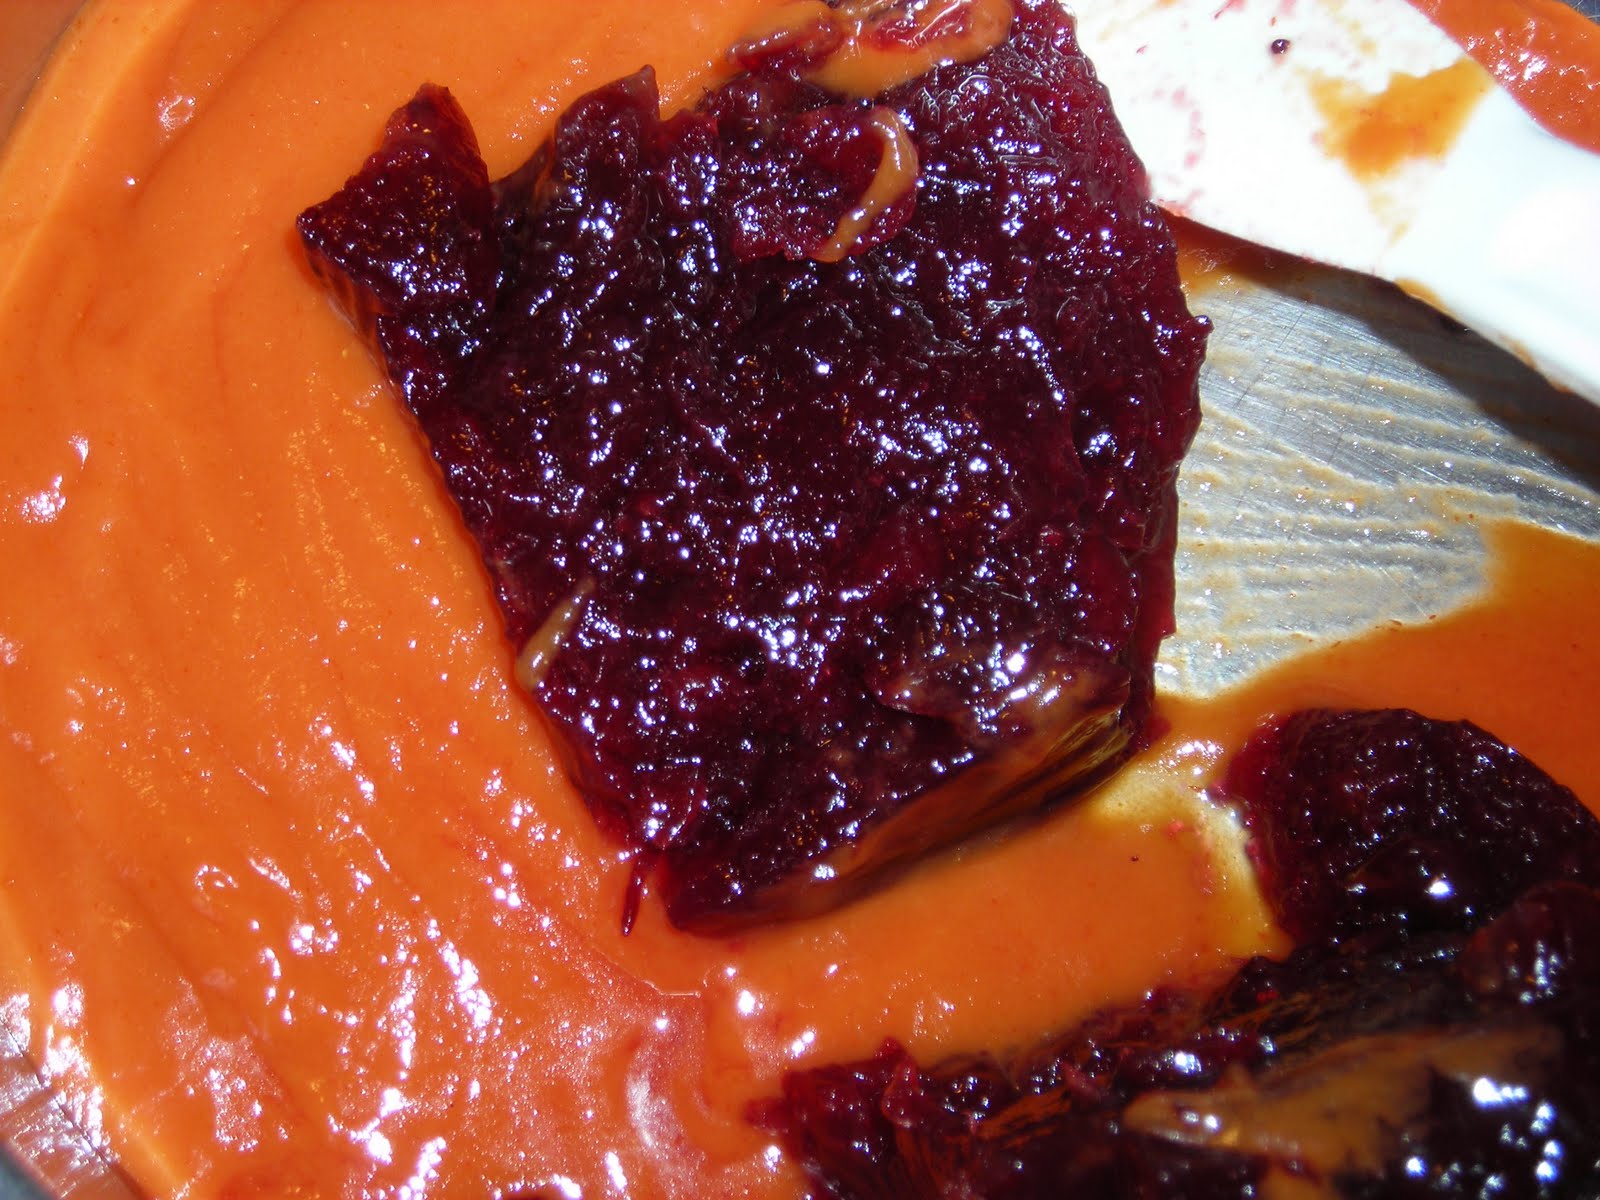
Add meatballs, simmer for 10 minutes. Serve over rice or noodles.

Yield: 4 servings

Monster Cookies


I think my mom has had this recipe since before I could walk as I do not remember a time before Monster Cookies. My Mom shared this recipe with my aunt, so I usually get them at family gatherings one way or another. They are soft, filled with deliciousness, and do not disappoint.

I normally encourage people to mix up any recipe, but I believe that adding crunchy peanut butter makes the cookies a bit crisper so if you prefer a soft cookie I highly recommend creamy peanut butter.
Traditional Monster Cookies are large in size. Being one to buck tradition I like to make them smaller, usually mine are about 2 inches in diameter. Plus, that way I can eat more than one J
Tip: I make the cookies into a ball and place them close to one another on a sheet pan. I place the cookies in the freezer and freeze them until they are firm. Once frozen (I usually leave them in the freezer overnight) I place them in a freezer-safe container and then bake a few when I need and/or want them. This way I always have fresh cookies when I/we want. (Oh, and I can eat a frozen cookie ball when I want J)
Oh – and the cookies will continue to cook once you take them out of the oven as the pan is still hot so I try to take them out around 10 minutes and let them sit for 2-3 minutes.
Monster Cookies
1 c. sugar                                                                            
2 c. brown sugar
3 eggs                                                                                  
½ c. butter
1 ½ c. peanut butter                                                      
½ t. vanilla
1 c. flour                                                                              
2 t. soda
2 c. oatmeal                                                                       
7 ½ oz. plain M & M’s
Mix in order given.  Bake at 350 degrees for 8-12 minutes.

Friday, June 3, 2011

Chocolate Chip Chiffon Cake


I have requested a Chocolate Chip Chiffon Cake for my birthday for the last two years. It is light-er like an Angel Food Cake but has some chocolate sprinkles and frosting. It is great any time of the year, but I must be honest, this cake needs a commitment. The recipe is in my Mom’s old Betty Croker cookbook. There are specific steps and it is imperative that you follow the directions. If you do and allow some time, you will achieve success!
First, you must separate the egg yolks from the whites. You can use an egg separator, or you can use the egg shell to separate the egg from the yolk. No matter the method, there is a risk that the yolk will get into the whites, so always do this over two separate bowls and place the yolk and white into their respective larger bowls after each separation.
Basically, you crack the egg as evenly as possible and move the yolk from one side of the cracked egg to the other, letting the whites drop into a bowl. Once you have removed as much of the white from the yolk, place the yolk in a separate bowl and repeat until you've separated all of the eggs.


Beat the egg yolks in a mixer until they are thick and lemon colored.

Add the rest of the ingredients except the egg whites and cream of tarter. Mix until smooth.
In a different bowl (preferably a glass or metal bowl, not a plastic bowl), beat egg whites and cream of tartar until very stiff peaks form.


You can tell there are not stiff peaks in the picture above.


But keep beating, and see the peaks here?
Gradually pour the egg yolk mixture over beaten whites, gently folding just until blended.

Gently fold in 3 oz. of sweet chocolate, shaved (hint: we use chocolate sprinkles – it is much faster and easier!).
Pour into an UNGREASED tub pan (10x4 inches.)


It is important that you bake this until it is brown on top and springs back when touched. If it is not fully cooked it will fall out of the pan!
Turn the pan upside down. (My mom uses a small bottle from her refrigerator like a soy sauce bottle). Let cool.
Once cool, run your knife along the outside of the pan and around the center tube.


Flip out onto a cake plate and run your knife across the pan to remove the pan from the cake.


See how well the cake comes out. There is only a small bit of cake left in the pan which is a great treat for the baker J
Top with the glaze and enjoy!!!
Chocolate Chip Chiffon Cake
2 c. flour                                                                              
1 ¾ c. sugar
3 t. baking powder                                                         
1 t. salt
½ c. oil                                                                                  
7 egg yolks
¾ c. cold water                                                 
2 tsp. vanilla
1 c. egg whites
½ t. cream of tartar                                                        
Beat egg yolks alone until thick and lemon colored.  Add rest of ingredients except egg whites &  cream of tartar.  Mix until smooth.  Measure egg whites & cream of tartar into large metal or glass bowl.  Beat until whites form very stiff peaks.  Gradually pour egg yolk mixture over beaten whites, gently folding JUST until blended.  Gently fold in 3 oz. of sweet chocolate that has been shaved (or use 1 – 2 bottles of chocolate sprinkles) into the batter.  Pour into UNGREASED tube pan 10 X 4 inches.  Bake about 75 minutes or until top springs back when touched lightly with finger.  Invert tube pan on funnel; let hang until cake is completely cool. 
Frost with Chocolate Glaze:
Melt 2 oz. unsweetened chocolate & 3 T. butter over low heat.  Remove from heat; stir in 1 c. powder sugar & ¾ t. vanilla.  Mix in about 2 T. HOT water, 1 t. at a time, until glaze is of proper consistency.

Thursday, June 2, 2011

Freshly Squeezed Lemonade


Last weekend I made some Lemonade with my Mom. She makes great lemonade and this time she found lemons that were HUGE so we only needed about 5 lemons to make almost 2 gallons of lemonade!

While you can use an expensive contraption, my Mom gets all of the juice and pulp out of the lemons using this orange tool that takes up a lot less space.


I rolled the lemons between the palm of my hand and the counter to help them juice. Then, I cut them in half and placed it on the orange juicer in the picture above. Then, you work the lemons around the juicer to get all of the juice and pulp out of the lemon. See that the lemon looks hallow and all of the juice in the bowl?

Once all of the lemons were juiced we added 1 c. of lemon juice and water to fill the container. Then, we added sugar to taste. Start with 1 c. sugar in 2 gallons of liquid and add more as necessary until you reach the desired consistency.

The lemonade is great on its own, but my Dad also makes the best Margaritas out of it! You can look for that recipe in a different post. :)

Rhubarb

I got som Rhubarb from my Mom and Dad's Rhubarb plants. They have a generous amount of rhubarb, so all of us get our fill! Rhubarb is a vegetable and grows in hills.

You pick it by bending down and pulling the vegetable out of the ground at the base of the plant. It comes free easily. You can see that it is the size of celery and has leafy greans on the top. The leafy greans can be discarded.

Once the tops are removed, soak the rhubarb in a sink of cold water. Run your hands along the vegetable and remove any dirt or slimy reside that is natural on Rhubarb.
You can see that I am wearing kitchen gloves as a large amount of Rhubarb can stain your fingers.


You will want to remove the tags at the base of the vegetable. You can see them above on the right side of the photo.


Also, remove any bruise or brown spots by cutting that piece out.


Once cleaned and drained, I cut the rhubarb into small pieces and store it in the refridgerator for at least one week.

You can also freeze it. I freeze the rhubarb in 4 c. increments as that is the common amount used in recipes.

One of my family's favorite way to eat rhubarb is to place the sliced pieces in a microwave safe bowl. We microwave the rhubarb until it is smooth like rhubarb and then add sugar to taste. It's a great treat!

Wednesday, May 25, 2011

Banana Bread

I make a lot of bread and desserts but have not posted very many because we gave up desserts for Lent. Now that Lent is over, we are on an Easter feast! This banana bread is breakfast, snack, and dessert. It makes one large loaf pan, so we did not have to freeze any.
My mom made this recipe when we were kids. I like it because it is very moist and I find most banana bread to be dry. It also has a streusel topping which adds a dessert-like quality.
This is a great comfort food!
I start by mashing my bananas in my stand mixer:


You'll notice this recipe calls for a small bit of oil. While I am not usually a gadget kind of baker, I really like this liquid measuring cup. (My Mom gave this to me for Christmas and she got a lot of slack for giving me a shot glass but she insisted it was a liquid measuring cup.) No matter what you call it, it comes in very handy!
It is imperative that you do not over-mix quick breads as they can become tough. Once you combine all ingredients in the mixer be sure to mix only until combined. It will look something like this:

Remember I said this has streusel? I love streusel! It is super easy to make and makes an ordinary dessert or bread outstanding!


Ready for the oven!


Banana Bread copied from my Mom's old Betty Crocker cookbook 
2 ½ c. flour                                                                            1 c. sugar
3 ½ t. baking powder                                                            1 t. salt
3 T. oil                                                                                   ¾ c. milk
1 egg                                                                                     1 c. finely chopped nuts
1 c. mashed bananas (2-3)
Heat oven to 350 degrees.  Grease 9x5x3 inch loaf pan.  Measure all ingredients into large mixer bowl;  beat on medium speed ½ minute, scraping bowl constantly.  Pour into pan.                  TOPPING:
¼ c. brown sugar
¼ t. cinnamon
1 T. melted butter
1 – 2 T. flour
Mix together and sprinkle on top of batter before baking.

Bake 55 – 65 minutes or until wooden pick inserted in center comes out clean.  Remove from pan; cool thoroughly before slicing.

Monday, May 23, 2011

Dutch Letters

Dutch Letters are a delicious flaky pastry stuffed with almond flavoring. I learned to love them while I was in college. I cannot justify a multi-hour drive to fulfill my sweet tooth so I was delighted when my sister found a recipe for  Dutch Letters here.

When I was a kid I always took baked goods to the 4-H fair. My Mom let me choose something complicated and I would spend most of the winter making it until I could do it perfectly for the July fair. I definitely need more practice on these Dutch Letters as the appearance is far from perfect and I did not think there was enough almond filling. I will let you know when I get it perfected to fair quality, but in the mean time, I thought I would share a fun and tasty creation!

First, I mixed up the filling. I used this almond paste (the full recipe is below)
I used puff pastry rather than making my own dough as I needed to get these made in an evening after work. I set out both squares of puff pastry to defrost for 30 minutes. Once they were not entirely frozen I rolled them out on a (heavily) floured surface.

You will want the pastry to be quite thin. Then, cut one inch strips of dough and dust off any excess flour.
Place a small amount of the almond filling down the middle of the one inch strip. Stop half way down the strip.
Wet the edges of the pastry that have the almond filling.
(I place a bowl on the counter and dip my fingers in the water to wet the edges of the pastry.)
NOTE: you only need to do half of the length of the pastry because you will fold the other half onto the first, wet, half.
Press the pastry together.
Dutch Letters are traditionally in the shape of an S. I learned that making an S shape out of a narrow, filling filled pastry takes more than patience and precision. Actually, I think you have to be a genius to get the shape as perfect as the ladies do at Jaarsma Bakery, the bakery in my college town.  I practiced making many shapes and made a lot of lower case “l” shapes. I justified my unwillingness to fight with the dough to make S shapes because the S Dutch Letter is quite large and I wanted to be able to eat a more moderately sized Dutch Letter.  
Bake at 375 degrees for 20 minutes. Remove from a pan and finish the tops with a rub of butter and a sprinkling of sugar. (Hint: I tear off one edge of butter and smear it across the top of the Dutch Letter.)
Dutch Letters
Almond Filling:
8 oz. almond paste
1/2 c. sugar
1/2 c. brown sugar
1 egg white

Dough:
1 package puff pastry

Remove the puff pastry from the freezer and set for 30 minutes until defrosted. Roll out one sheet of puff pastry at a time.

Cut puff pastry in one inch slices.

Place a small amount of almond filling down half of the pastry.

Wet the edges of the half of the pastry without filling. Fold the non-filled pastry on top of the filled portion and seal edges.

Bake at 375 degrees for 20 mintes.

Lightly spread butter on top of letters and sprinkle with sugar.


Like I iluded above, these are not yet perfect, but they cannot be that bad as my Mother-in-Law called and during the course of the conversation we asked how she was. She said she was doing well but that she had a problem. We asked what her problem was and she said she was out of Dutch Letters.

I'm glad I have people to help me eat them as I prefect the recipe :)