Search This Blog

Friday, December 16, 2011

Chicken Pasta

Easy Chicken Pasta

I forgot to take pictures of our supper last night, but it’s a great, fast dish and I don’t want to forget to tell you about it. Bryan made this for me the night we got engaged and every year around this time, the time we got engaged, I get hungry for it.
Food is very nostalgic for me. Once a year I splurge and buy a box of Cinnamon Toast Crunch. I try to eat oatmeal or Fiber One cereals so Cinnamon Toast Crunch is quite a treat! I love it because when I was a kid my Grandma and I would eat this cereal together when I went to her house. I cannot see Cinnamon Toast Crunch without thinking about my Grandma.
This chicken pasta is the same. Every time I make it I remember the night we got engaged, how excited we were, and how we spend the most of the remaining weekend on the phone sharing our excitement. Just last night we re-lived some of those fun memories.
Chicken Pasta
4 boneless skinless chicken breasts
1 can tomato soup
1 soup can milk
1 tsp basil
2 c. Penne pasta
Brown the chicken breasts in a pan. Remove the chicken and place the soup, milk, and basil in the pan. Combine with a whisk and simmer on low. Add the cooked chicken to the mixture once the soup and milk mixture is combined. Meanwhile, cook pasta per package directions.
Serve the pasta and tomato sauce on a bed of pasta. Serve with corn or a side salad.

Tuesday, December 13, 2011

Extreme Baking

I have not blogged for almost 6 months. I cannot say that I have a good excuse and I assure you that we have eaten in the last few months. I wrote (but never posted) this post in September. Bryan was gone on a work trip so I was at home to entertain myself. Read on to find out what happens when I’m stressed and alone. And, look forward to more frequent blogging.
I got home last night and I wanted to relax but I felt the need to accomplish something so I decided to bake. For me, baking is a great stress reducer and results in a good smelling and awesome tasting product. I did what any not-so-normal human being would do; I whipped up a double batch of my Grandma’s cinnamon rolls and a batch of monster cookies.
This made perfect sense to me, you see, because while the sweet roll dough was rising I would make the monster cookies and in between tending to the dough, I would bake the cookies. In addition, I would use the oven and not have to turn it on later. This is multi-tasking and makes me smile because I’m lame like that.  
You should be asking why a family of two needs a double batch of cinnamon rolls and monster cookies. The honest answer is that we don’t. However, we were moving in October so I knew we would have much help. These items freeze well and will come in handy later.
I wish I could say that I had pictures but my hands were so covered in flour, dough, and cookie particles that it just did not happen. I also wish I could say that I remembered how much a single recipe of my Grandma’s cinnamon rolls makes! My arms got sore during the kneading process – so sore they were shaking. (This is a sign that I need to work on my arms strength but I am going to ignore this fact. I hope you do too.)
Then, I made the monster cookies. There was nothing new there. I put them in the fridge to chill and went back to the rolls just as my mom called. “What are you doing?” she asked. I nonchalantly told her about my baking expedition and she said, “You know that Grandma’s cinnamon roll recipe makes TWO 9x13 pans on its own. You are going to have FOUR 9 x 13 pans of cinnamon rolls.”
Oh. Shoot.
The rest of my night involved a cinnamon roll assembly line of rolling, buttering, cinnamon-and-sugar-ing, rolling, slicing, and baking. I did not get to the monster cookies (imagine that) but my house smells great and I have a freezer full of goodies to feed an army. At 10:30 the last pan of rolls came out of the oven and I naturally wanted to eat one. Should someone really indulge in a cinnamon role at 10:30 at night? Alone? I didn’t think so, so I considered taking a pan to my neighbors. They would certainly enjoy them, but I do not think baked goods and a random visit from a neighbor is really welcome after say, 9:00 PM. So, I did the only logical thing. I ate the smallest one – you know – for quality control. They are good and will be better with frosting. Next time I will take pictures and blog about these rolls and post some tips and tricks I remembered through the process.
I am going to bake the monster cookies tonight but I am a slow learner as I also have plans to make a carrot cake, a salad for work, and a salad for supper tomorrow night.
If you do not hear from me please come find me under the piles and piles of dishes!
I made it out of the baking extravaganza and our moving crew really enjoyed the cinnamon rolls. I have had at least two additional baking extravaganzas since this September night but I will have to tell you about that later.

Wednesday, July 27, 2011

Hummus

I love hummus and I finally made it (successfully) starting with dried chickpeas or garbanzo beans instead of canned chickpeas. I tried in this post, but I failed because I failed to cook the chickpeas before blending them with the other ingredients.
The hummus turned out great and I must say that starting with dried chickpeas really does make a difference. The flavor truly is that much better when you start with dried chickpeas. Using dried chickpeas does require advance planning and at least 24 hours and because of this I will keep a can of chickpeas on hand at all times for those instances when I did not plan in advance or get a huge hummus craving that cannot wait.
As with any dried bean, I sifted through them to remove any stones or bad beans. Then, I placed them in a large saucepan with cold water and ½ tsp. salt. The chickpeas soak overnight and are ready the next day.
Be sure you drain the water off the chickpeas and then add new water to rinse off any starchy fiber that would cause gas. Simmer the chickpeas for an hour or an hour and a half.
Drain the liquid saving 1 Tbsp liquid.
(You can tell that I threw some black beans in. I had some left over from Mexican food and decided to use them in this. It was a great variation!)
The recipe calls for Tahini. It is sesamee paste. You can find it near the peanut butter or in the international aisle. It stores for some time in a room-temperature location and does separate.


Place chickpeas, 1 Tbsp liquid, 1 Tbsp lemon juice, 1 Tbsp tahini, 1 large garlic clove, ½ tsp salt and ¼ tsp pepper in a food processor. Stream in olive oil into the food processor as the mixture blends. (it will be approximately ¼ c. olive oil.)
Taste and add any additional seasoning as needed.
Place in a serving bowl and cover with paprika. Serve with crackers, pita, raw vegetables, as a sandwich spread, or in a cold pasta or quinoa salad.
I made two; one with black beans and one plain as I used it in a dip.

Saturday, July 16, 2011

Carrot Onion Slaw


Bryan is a great chef and has an amazing ability to make up recipes. He made carrot onion slaw and we ate it on burgers. The slaw was great and it was an amazing addition to our pork burgers.


He grated the carrots and chopped the onion


Then, he added the garlic. We love fresh garlic and always have it on had. You can easily get that outer skin off the garlic by laying your knive down on the garlic and hitting your knife.


If you look closely you can see that the skin has separated from the garlic

Pull the skin off and you have the garlic clove

Chop and add to the carrots and onion. Season with Sweet Thai Chili Sauce, Lemon Juice, Vinegar, salt, and pepper


Carrot onion Slaw

10 baby carrots, grated
¼ red onion
1 clove garlic
2 Tbsp. Sweet Thai Chili Sauce
½ tsp. lemon juice
¼ tsp. vinegar
1/8 tsp salt
1/8 tsp pepper
Grate carrots and finely chop onions and garlic. Combine the ingredients in a small serving dish and refrigerate until ready to eat.

Monday, July 11, 2011

Eggs are not Dairy

My husband is not a country kid. In fact, he grew up in town and his farm experience was limited to one time when he “helped” on one of his school friend’s farm. (His friend’s mom made him his first homemade cherry pie and he talks about that to this day.)
You already know that I grew up on a farm but now live in a town.
My husband has a great attitude about everything in life and enjoys our trips to my parent’s house and farm. He asks a lot of questions about agriculture related things and helps me understand city things.
When we were newly married, I told my husband that I was “going to town” and I asked him if he needed anything. To which he replied, “First, we are in town and no, I do not need anything at the store.”
The first summer of our marriage, I woke up and decided to mow the lawn. Lucky for me, it was not too hot outside and the grass was dry so I got ready to mow the lawn. (Yes, my husband would do it, but I do not like to sit still so I do it sometimes.) So, around 8:00AM I was all ready to mow the lawn. My husband told me I could not mow the lawn but I replied, “Yes, I can. The grass is dry and it is not too hot out.” My husband had to explain that because I have neighbors I cannot mow the lawn before 10 AM.
The stories go on and on, but you get my point.
My husband has helped me understand that people do not always think about the origin of their food.
For example, on more than one occurrence people have referred to eggs as dairy. I was shocked the first time someone made this reference to me and you can be sure that I helped them understand that eggs are poultry and not dairy. You see, eggs come from chicken and dairy comes from cows.
The more times I heard the confusion the more frustrated I became. My husband helped me see that because eggs are stored in the dairy section of the grocery store people confuse them as dairy. I get that, I guess, but food does not come from the grocery store. The process is much bigger than that.
I would love to keep this blog about food, but also educate people about where their food comes from or how it is made. In the future, you will see recipes but you will also see my rendition of how things are made or the origin of our food.

Thursday, July 7, 2011

Chicken Satay Noodle Salad

I love the peanut butter and soy sauce combination. I eat it on pork, chicken, vegetables, and quinoa.
Maybe I need an intervention? Nahhh, I need to share this recipe! This nutritious dish is also d-e-l-i-c-i-o-u-s!
I do not know where I found the recipe, but I modified it a bit (of course) and do not feel as guilty as I should when I gobble up a huge plate because it is full of protein and vegetables!

The recipe makes enough to feed 6 people so I often times cut it down to feed two (with leftovers for lunch, of course!)
I use Ronzoni Smart Taste pasta. I love that it has protein, dietary fiber, and more. Actually, I compared the nutrition label to quinoa and found this pasta to be the same or better than quinoa. (Which naturally makes me feel like I can eat pasta for breakfast, lunch, and dinner!)
I do realize that I should not eat pasta every day or for every meal, but I may allow myself to indulge more than I have recently. J
Once we finally got home from the gym we fired up the grill and put the chicken breast on to cook.  The original recipe called for a rotisserie chicken skinned and shredded so you could do that too if you were in a pinch. I have not bought a rotisserie chicken because they are expensive and do not save time as in this dish you can multi-task by chopping veggies and cooking pasta while the chicken is cooking. In addition, I get to add my own seasonings and control the quality of the ingredients, salt, and what not when I do it myself.

(Yes, I am one of those people who want to do things myself and find great satisfaction in doing so. I realize that I am a special breed so I try to give the rest of the world a reasonable option.)

While the chicken is cooking, cook the spaghetti per package directions and drain.

I also chop up/prepare all the veggies. You can see that I used more vegetables than the recipe called for, but I am really trying to get more vegetables into our diet and this was an easy and tasty way to do just that! (To me this is another benefit of making food myself, I get to put in the amount of ingredients I want.)
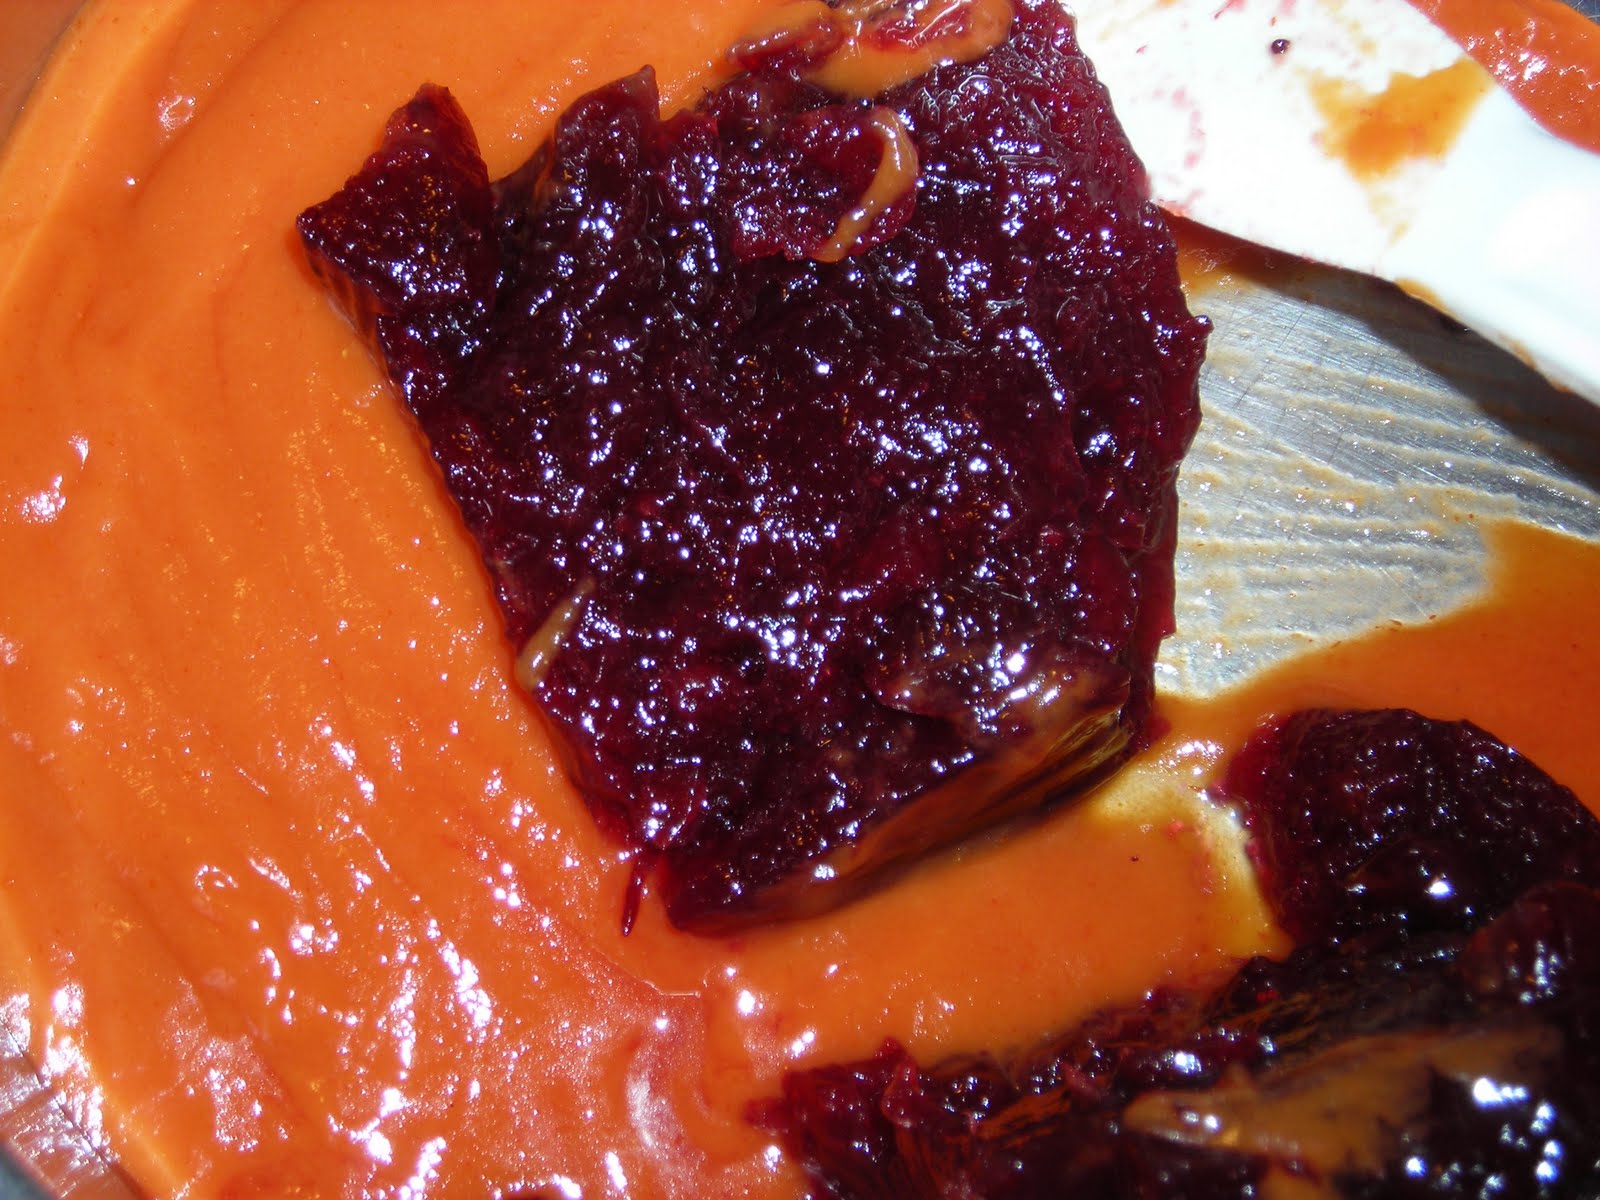
Then, I mixed up the peanut butter sauce.


And added the sauce to the noodles.

I placed the saucy noodles in a serving bowl

And topped with the chicken and veggies and nuts

Then, I inhaled enjoyed my wonderful dish!


Chicken Satay Noodle Salad

1 lb whole wheat spaghetti
½ cup peanut butter, softened                                                                 
2 tablespoons honey
¼ cup soy sauce
¼ c. lime juice
1 tsp. red pepper flakes, chopped
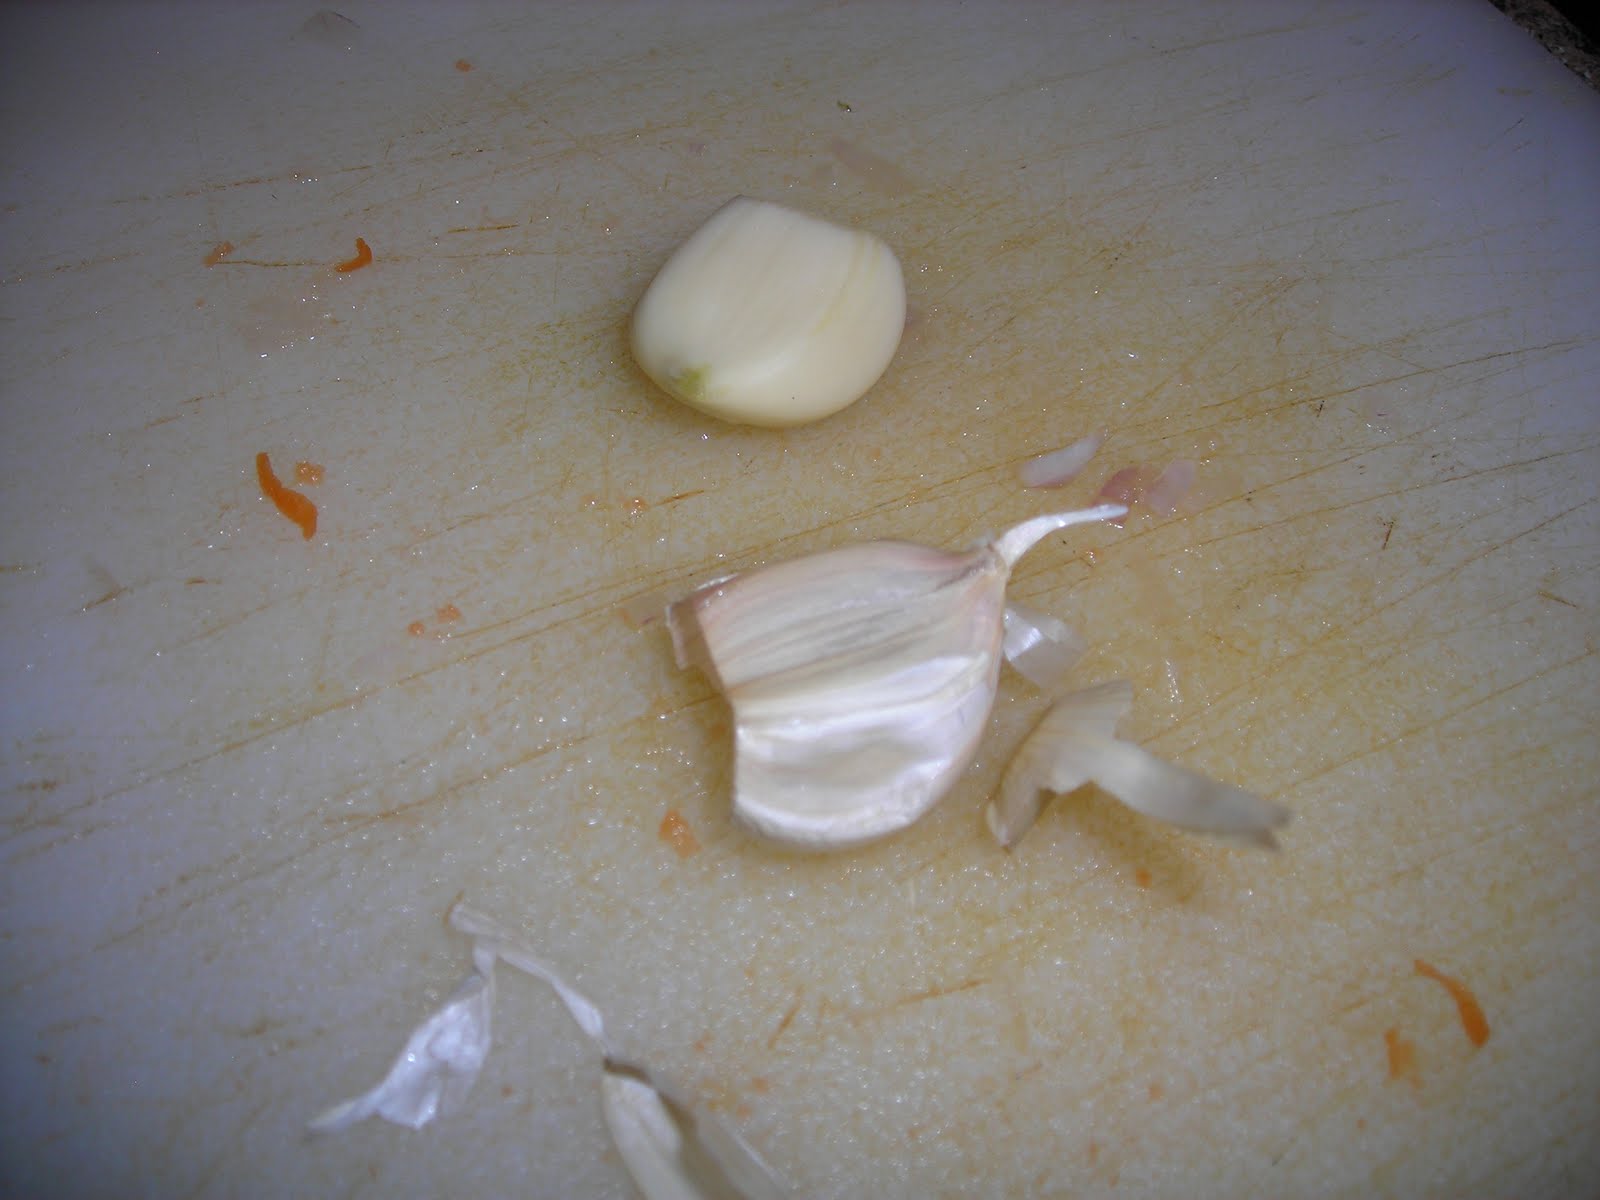
1 garlic clove, grated
3 tablespoons vegetable oil
2 cups cooked chicken**                                             
1 cup packed fresh spinach
¼ cup shredded carrots
4 scallions, thinly sliced on an angle                                                         
¼ cup chopped peanuts
Cook pasta, drain, rinse and set aside.
While the pasta is cooking, in a large bowl, whisk together the peanut butter, honey, and ¼ cup warm water. Whisk in the soy sauce, lime juice, red pepper flakes and garlic. Pour in the oil in a steady stream, whisking to combine. Add the reserved noodles and toss to coat.
Place the noodles in 4 shallow bowls and top with the chicken, spinach, carrots, scallions, and peanuts.

** You can use pulled pork, pork tenderloin, or pork chops in this dish as well!!

Wednesday, July 6, 2011

Meatballs

Cranberry Meatballs


Bryan and I decided that meatballs sounded good, but we wanted to try a new recipe to change things up a bit. (The recipes we have a great – but we make those a lot.)
We needed to use up some ground beef so we stuck with a entirely ground beef recipe. I think future meatball attempts may include beef and pork and we will freeze the excess in smaller portions so we do not have to eat meatballs all week long!
Bryan found this recipe in The Complete Guide to Country Cooking, a cookbook my mom and dad gave me when I was in 8th grade. I begged my parents for cookbooks when I was a kid but they tried hard to get us age appropriate things but I was not necessarily interested in a child’s cookbook as I had some of those and wanted something more advanced. Eventually, I got this cookbook and it appeased me for some time.
This recipe included a sauce that we will use as the beginning of a BBQ sauce. Once we get the recipe perfected we will post it here J
I don’t like to touch raw meat so Bryan offered to make the meatballs. He combined all of the ingredients and used a 1-inch cookie scoop to make the meatballs. He was careful to pack the cookie scoop full so that the meatballs did not fall apart while cooking.

We placed them on a sheet and baked them for 20 minutes.

Once the meatballs were out of the oven we put them in the cranberry/tomato sauce for 10 minutes to finish cooking and to take on some of the sauce flavor.
You’ll see that we are missing a vegetable in this picture. We did have them (cucumbers) but the dishwasher had all of our dirty plates, so we ate our main dish first in these bowls and then had the cucumbers. It happens!
Cranberry Meatballs copied from The Complete Guide to Country Cooking by Taste of Home Publishing
1 egg, lightly beaten
½ c. crushed saltines (approx 15 crackers)
¼ diced onion
1 tsp salt
½ tsp pepper
1 lb. ground beef
1 can (16 oz) whole-berry cranberry sauce
1 can (10 ¾ oz) condensed tomato soup, undiluted
In a bowl, combine the first five ingredients. Crumble meat over mixture and mix well. Shape into 1 ½ inch balls. Place on rack in a baking pan. Bake, uncovered, at 400 degrees for 20 minutes or until no longer pink.
Meanwhile, combine cranberry sauce and soup in a large saucepan; heat through.
Add meatballs, simmer for 10 minutes. Serve over rice or noodles.

Yield: 4 servings

Monster Cookies


I think my mom has had this recipe since before I could walk as I do not remember a time before Monster Cookies. My Mom shared this recipe with my aunt, so I usually get them at family gatherings one way or another. They are soft, filled with deliciousness, and do not disappoint.

I normally encourage people to mix up any recipe, but I believe that adding crunchy peanut butter makes the cookies a bit crisper so if you prefer a soft cookie I highly recommend creamy peanut butter.
Traditional Monster Cookies are large in size. Being one to buck tradition I like to make them smaller, usually mine are about 2 inches in diameter. Plus, that way I can eat more than one J
Tip: I make the cookies into a ball and place them close to one another on a sheet pan. I place the cookies in the freezer and freeze them until they are firm. Once frozen (I usually leave them in the freezer overnight) I place them in a freezer-safe container and then bake a few when I need and/or want them. This way I always have fresh cookies when I/we want. (Oh, and I can eat a frozen cookie ball when I want J)
Oh – and the cookies will continue to cook once you take them out of the oven as the pan is still hot so I try to take them out around 10 minutes and let them sit for 2-3 minutes.
Monster Cookies
1 c. sugar                                                                            
2 c. brown sugar
3 eggs                                                                                  
½ c. butter
1 ½ c. peanut butter                                                      
½ t. vanilla
1 c. flour                                                                              
2 t. soda
2 c. oatmeal                                                                       
7 ½ oz. plain M & M’s
Mix in order given.  Bake at 350 degrees for 8-12 minutes.

Friday, June 3, 2011

Chocolate Chip Chiffon Cake


I have requested a Chocolate Chip Chiffon Cake for my birthday for the last two years. It is light-er like an Angel Food Cake but has some chocolate sprinkles and frosting. It is great any time of the year, but I must be honest, this cake needs a commitment. The recipe is in my Mom’s old Betty Croker cookbook. There are specific steps and it is imperative that you follow the directions. If you do and allow some time, you will achieve success!
First, you must separate the egg yolks from the whites. You can use an egg separator, or you can use the egg shell to separate the egg from the yolk. No matter the method, there is a risk that the yolk will get into the whites, so always do this over two separate bowls and place the yolk and white into their respective larger bowls after each separation.
Basically, you crack the egg as evenly as possible and move the yolk from one side of the cracked egg to the other, letting the whites drop into a bowl. Once you have removed as much of the white from the yolk, place the yolk in a separate bowl and repeat until you've separated all of the eggs.


Beat the egg yolks in a mixer until they are thick and lemon colored.

Add the rest of the ingredients except the egg whites and cream of tarter. Mix until smooth.
In a different bowl (preferably a glass or metal bowl, not a plastic bowl), beat egg whites and cream of tartar until very stiff peaks form.


You can tell there are not stiff peaks in the picture above.


But keep beating, and see the peaks here?
Gradually pour the egg yolk mixture over beaten whites, gently folding just until blended.

Gently fold in 3 oz. of sweet chocolate, shaved (hint: we use chocolate sprinkles – it is much faster and easier!).
Pour into an UNGREASED tub pan (10x4 inches.)


It is important that you bake this until it is brown on top and springs back when touched. If it is not fully cooked it will fall out of the pan!
Turn the pan upside down. (My mom uses a small bottle from her refrigerator like a soy sauce bottle). Let cool.
Once cool, run your knife along the outside of the pan and around the center tube.


Flip out onto a cake plate and run your knife across the pan to remove the pan from the cake.


See how well the cake comes out. There is only a small bit of cake left in the pan which is a great treat for the baker J
Top with the glaze and enjoy!!!
Chocolate Chip Chiffon Cake
2 c. flour                                                                              
1 ¾ c. sugar
3 t. baking powder                                                         
1 t. salt
½ c. oil                                                                                  
7 egg yolks
¾ c. cold water                                                 
2 tsp. vanilla
1 c. egg whites
½ t. cream of tartar                                                        
Beat egg yolks alone until thick and lemon colored.  Add rest of ingredients except egg whites &  cream of tartar.  Mix until smooth.  Measure egg whites & cream of tartar into large metal or glass bowl.  Beat until whites form very stiff peaks.  Gradually pour egg yolk mixture over beaten whites, gently folding JUST until blended.  Gently fold in 3 oz. of sweet chocolate that has been shaved (or use 1 – 2 bottles of chocolate sprinkles) into the batter.  Pour into UNGREASED tube pan 10 X 4 inches.  Bake about 75 minutes or until top springs back when touched lightly with finger.  Invert tube pan on funnel; let hang until cake is completely cool. 
Frost with Chocolate Glaze:
Melt 2 oz. unsweetened chocolate & 3 T. butter over low heat.  Remove from heat; stir in 1 c. powder sugar & ¾ t. vanilla.  Mix in about 2 T. HOT water, 1 t. at a time, until glaze is of proper consistency.

Thursday, June 2, 2011

Freshly Squeezed Lemonade


Last weekend I made some Lemonade with my Mom. She makes great lemonade and this time she found lemons that were HUGE so we only needed about 5 lemons to make almost 2 gallons of lemonade!

While you can use an expensive contraption, my Mom gets all of the juice and pulp out of the lemons using this orange tool that takes up a lot less space.


I rolled the lemons between the palm of my hand and the counter to help them juice. Then, I cut them in half and placed it on the orange juicer in the picture above. Then, you work the lemons around the juicer to get all of the juice and pulp out of the lemon. See that the lemon looks hallow and all of the juice in the bowl?

Once all of the lemons were juiced we added 1 c. of lemon juice and water to fill the container. Then, we added sugar to taste. Start with 1 c. sugar in 2 gallons of liquid and add more as necessary until you reach the desired consistency.

The lemonade is great on its own, but my Dad also makes the best Margaritas out of it! You can look for that recipe in a different post. :)

Rhubarb

I got som Rhubarb from my Mom and Dad's Rhubarb plants. They have a generous amount of rhubarb, so all of us get our fill! Rhubarb is a vegetable and grows in hills.

You pick it by bending down and pulling the vegetable out of the ground at the base of the plant. It comes free easily. You can see that it is the size of celery and has leafy greans on the top. The leafy greans can be discarded.

Once the tops are removed, soak the rhubarb in a sink of cold water. Run your hands along the vegetable and remove any dirt or slimy reside that is natural on Rhubarb.
You can see that I am wearing kitchen gloves as a large amount of Rhubarb can stain your fingers.


You will want to remove the tags at the base of the vegetable. You can see them above on the right side of the photo.


Also, remove any bruise or brown spots by cutting that piece out.


Once cleaned and drained, I cut the rhubarb into small pieces and store it in the refridgerator for at least one week.

You can also freeze it. I freeze the rhubarb in 4 c. increments as that is the common amount used in recipes.

One of my family's favorite way to eat rhubarb is to place the sliced pieces in a microwave safe bowl. We microwave the rhubarb until it is smooth like rhubarb and then add sugar to taste. It's a great treat!

Wednesday, May 25, 2011

Banana Bread

I make a lot of bread and desserts but have not posted very many because we gave up desserts for Lent. Now that Lent is over, we are on an Easter feast! This banana bread is breakfast, snack, and dessert. It makes one large loaf pan, so we did not have to freeze any.
My mom made this recipe when we were kids. I like it because it is very moist and I find most banana bread to be dry. It also has a streusel topping which adds a dessert-like quality.
This is a great comfort food!
I start by mashing my bananas in my stand mixer:


You'll notice this recipe calls for a small bit of oil. While I am not usually a gadget kind of baker, I really like this liquid measuring cup. (My Mom gave this to me for Christmas and she got a lot of slack for giving me a shot glass but she insisted it was a liquid measuring cup.) No matter what you call it, it comes in very handy!
It is imperative that you do not over-mix quick breads as they can become tough. Once you combine all ingredients in the mixer be sure to mix only until combined. It will look something like this:

Remember I said this has streusel? I love streusel! It is super easy to make and makes an ordinary dessert or bread outstanding!


Ready for the oven!


Banana Bread copied from my Mom's old Betty Crocker cookbook 
2 ½ c. flour                                                                            1 c. sugar
3 ½ t. baking powder                                                            1 t. salt
3 T. oil                                                                                   ¾ c. milk
1 egg                                                                                     1 c. finely chopped nuts
1 c. mashed bananas (2-3)
Heat oven to 350 degrees.  Grease 9x5x3 inch loaf pan.  Measure all ingredients into large mixer bowl;  beat on medium speed ½ minute, scraping bowl constantly.  Pour into pan.                  TOPPING:
¼ c. brown sugar
¼ t. cinnamon
1 T. melted butter
1 – 2 T. flour
Mix together and sprinkle on top of batter before baking.

Bake 55 – 65 minutes or until wooden pick inserted in center comes out clean.  Remove from pan; cool thoroughly before slicing.

Monday, May 23, 2011

Dutch Letters

Dutch Letters are a delicious flaky pastry stuffed with almond flavoring. I learned to love them while I was in college. I cannot justify a multi-hour drive to fulfill my sweet tooth so I was delighted when my sister found a recipe for  Dutch Letters here.

When I was a kid I always took baked goods to the 4-H fair. My Mom let me choose something complicated and I would spend most of the winter making it until I could do it perfectly for the July fair. I definitely need more practice on these Dutch Letters as the appearance is far from perfect and I did not think there was enough almond filling. I will let you know when I get it perfected to fair quality, but in the mean time, I thought I would share a fun and tasty creation!

First, I mixed up the filling. I used this almond paste (the full recipe is below)
I used puff pastry rather than making my own dough as I needed to get these made in an evening after work. I set out both squares of puff pastry to defrost for 30 minutes. Once they were not entirely frozen I rolled them out on a (heavily) floured surface.

You will want the pastry to be quite thin. Then, cut one inch strips of dough and dust off any excess flour.
Place a small amount of the almond filling down the middle of the one inch strip. Stop half way down the strip.
Wet the edges of the pastry that have the almond filling.
(I place a bowl on the counter and dip my fingers in the water to wet the edges of the pastry.)
NOTE: you only need to do half of the length of the pastry because you will fold the other half onto the first, wet, half.
Press the pastry together.
Dutch Letters are traditionally in the shape of an S. I learned that making an S shape out of a narrow, filling filled pastry takes more than patience and precision. Actually, I think you have to be a genius to get the shape as perfect as the ladies do at Jaarsma Bakery, the bakery in my college town.  I practiced making many shapes and made a lot of lower case “l” shapes. I justified my unwillingness to fight with the dough to make S shapes because the S Dutch Letter is quite large and I wanted to be able to eat a more moderately sized Dutch Letter.  
Bake at 375 degrees for 20 minutes. Remove from a pan and finish the tops with a rub of butter and a sprinkling of sugar. (Hint: I tear off one edge of butter and smear it across the top of the Dutch Letter.)
Dutch Letters
Almond Filling:
8 oz. almond paste
1/2 c. sugar
1/2 c. brown sugar
1 egg white

Dough:
1 package puff pastry

Remove the puff pastry from the freezer and set for 30 minutes until defrosted. Roll out one sheet of puff pastry at a time.

Cut puff pastry in one inch slices.

Place a small amount of almond filling down half of the pastry.

Wet the edges of the half of the pastry without filling. Fold the non-filled pastry on top of the filled portion and seal edges.

Bake at 375 degrees for 20 mintes.

Lightly spread butter on top of letters and sprinkle with sugar.


Like I iluded above, these are not yet perfect, but they cannot be that bad as my Mother-in-Law called and during the course of the conversation we asked how she was. She said she was doing well but that she had a problem. We asked what her problem was and she said she was out of Dutch Letters.

I'm glad I have people to help me eat them as I prefect the recipe :)